
Custom Workspaces let you group boards into a single, organized navigation environment. Instead of switching between boards individually, you can build a Workspace tailored to a team's needs — for example, a Marketing Workspace, a Performance Workspace, or an Executive overview.
Requirements
Creating a Custom Workspace requires a Manage data permission level or higher.
Create a Workspace
From the Library
-
Click the + button in the Library.
-
Select Workspace from the resource type menu.
-
A new tab opens with the Workspace creation interface.
From the quick access bar (left sidebar)
-
Click the + button at the bottom of the workspace list in the left sidebar.
-
A new empty Workspace opens in creation mode.
Configure your Workspace
When creating or editing a Workspace, a settings panel opens on the right side of the screen.
You can define:
-
(1) Title — up to 255 characters.
-
(2) Description — up to 1,000 characters.
-
(3) Thumbnail — the Workspace initials are displayed by default. You can customize:
-
The background color
-
Or choose an icon from the icon library.
-
Click Save to save the Workspace.

Add boards to a Workspace
A board can only appear once in a Workspace.
You can add up to 20 boards in a Workspace.
From the Workspace editor
-
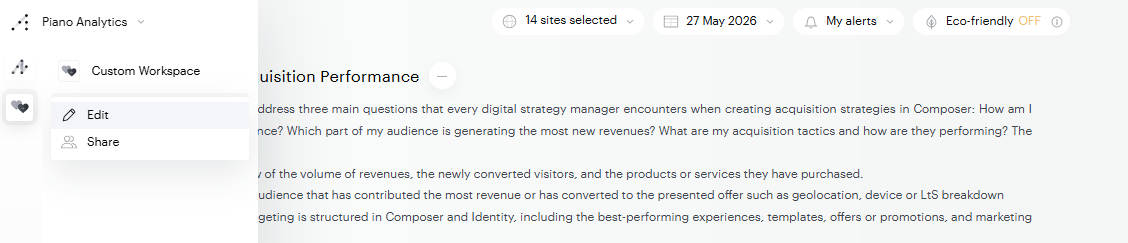
Open a Workspace and switch to Edit mode by clicking the Workspace name in the left menu.
-
Click Add a resource
-
A panel opens above the settings panel, listing your available boards. Double-click a board to add it, or use checkboxes to select multiple boards, then click Add X Boards.
-
Boards are added to the end of the Workspace's board list.
-
Click Save.
From a board
-
Open any board (viewer or edit mode).
-
Click Add to a Workspace (next to the … button in the top bar).
-
A mini-library displays all Workspaces where you are an editor.
-
Click a Workspace to add the current board to it.
What happens when a board becomes unavailable? If a board included in a Workspace is deleted or becomes inaccessible, it is automatically removed from the Workspace's board list. When editing the Workspace, a warning toast indicates which board(s) could not be loaded.
Organize boards in a Workspace
In Edit mode:
-
Drag and drop boards in the menu to reorder them.
-
Rename a board entry by clicking the pencil icon on hover. This rename is local to the Workspace and does not affect the original board name.
-
Remove a board by clicking the « x » icon on hover. The board is removed from the Workspace only, it is not deleted.
-
Add a section to group boards visually: click Add a section at the bottom of the Workspaces menu. Sections can be reordered via drag and drop and removed via the « x » icon.
Save the Workspace to take your changes into account.
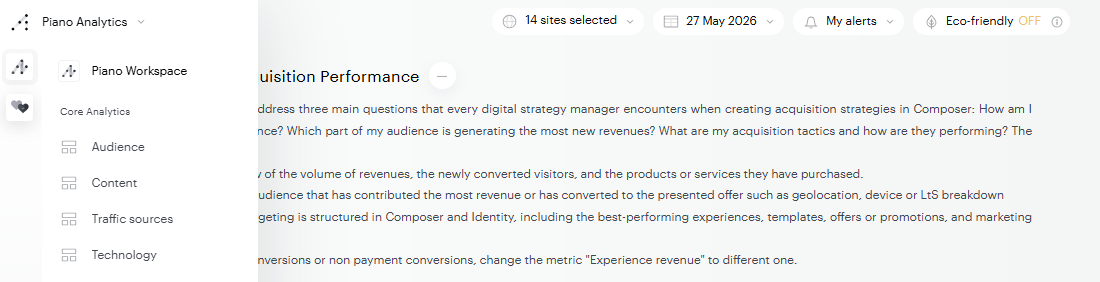
Navigate between Workspaces
All Workspaces you have access to — as editor or viewer, including shared and public Workspaces — appear automatically in the left sidebar. Click a Workspace icon to expand its board list.
Resource visibility in Workspaces
Any resource added to a Workspace will be available for the users the Workspace is shared with, in the context if this Workspace, even if this resource hasn’t been explicitly shared with them in the Library.
Workspaces are a great way to avoid cluttering the Library of users you share resources with. You can keep all your reports and boards private, share them via a Workspace. The users you will share the Workspace with will see none of the reports or boards in their Library.